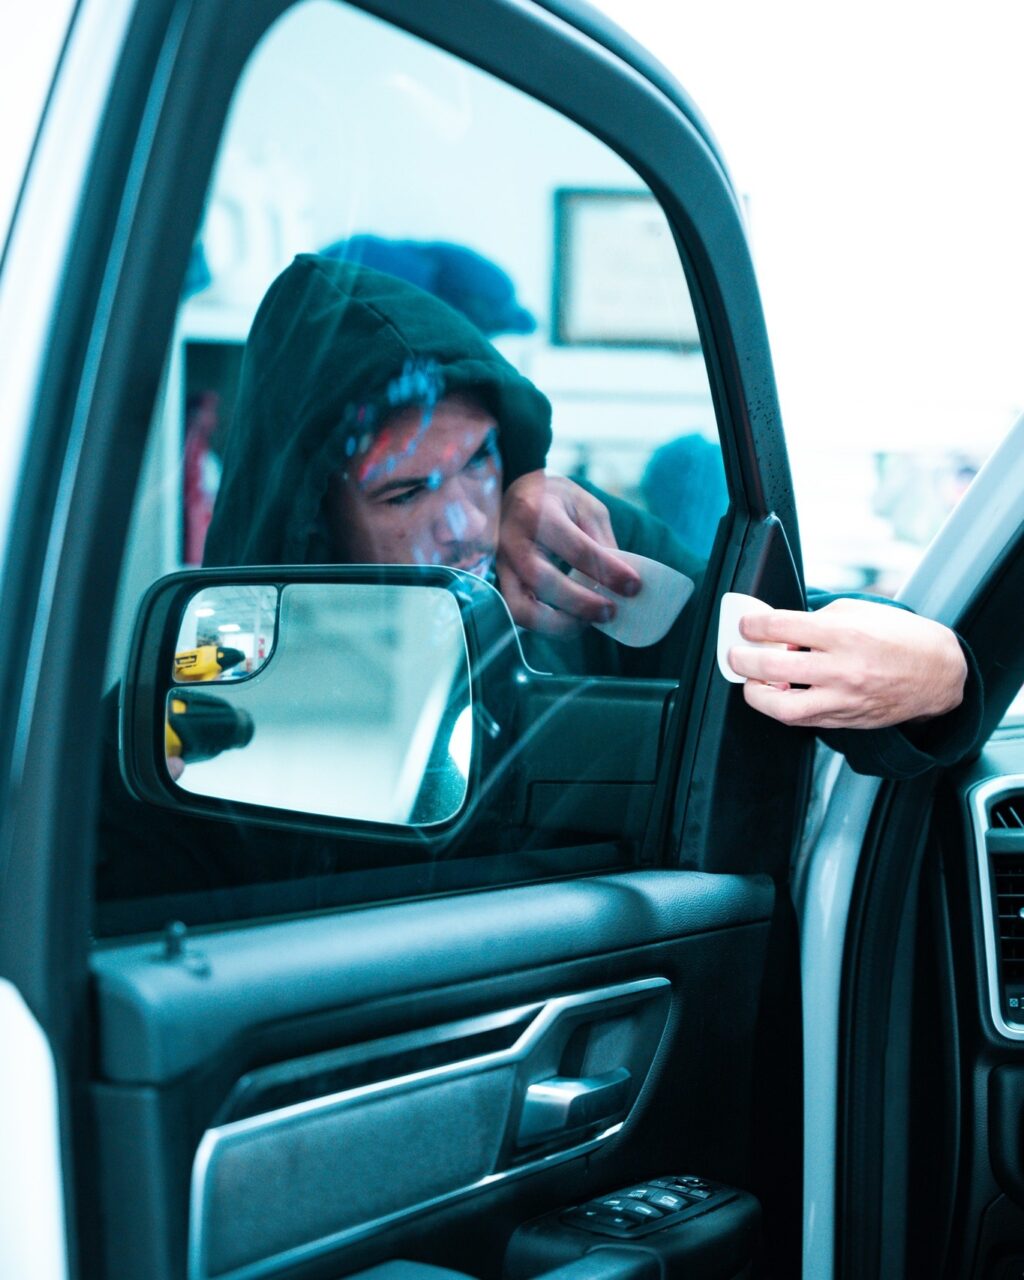
We’re going to make this blog nice and short. Here’s how to install Window Film In 3 Easy Steps:
- Call Solar Solutions and schedule an appointment.
- Pull your car into our shop
- SUCCESS! You’ve tinted your first car!
Jokes aside, as much as we want to work with you, you may be curious as to how hard or easy it is to install window film. We admire the grit. Here are your official steps towards tinting a car Solar Solutions style!
Preparing Your Windows
Might seem like a simple step of just cleaning your windows with Windex, however, it’s a bit more complicated than that.
Let’s start with the setting. You’re going to want to be in a clean dry work area. You don’t want dust particles casually landing on your window as your tinting. That’s how you get bubbles.
For cleaning windows, our preferred solutions is our trademark secret – soapy water. We do charge a 5% royalty to use it, but in your case, it’s on the house.
You might need some alcohol as well to remove any stickers on the window. It’s not just peeling, but you want to be able to scrape off all the excess adhesive, either with your finger nail, or getting more into it with a razer blade. If you watch JerryRigEverything, you’ll know glass is harder than Metal, so you don’t have to worry about scratching the glass as long as you don’t put too much pressure on it.
Wipe away all the excess soapy water and use a squeegee to finish the cleaning to get them completely dry.
Measuring and Cutting Your Tint
We’re going to brag a little here – our tint installation is going to be much easier because we pre-cut the vinyl to ensure a nice fit on your vehicle.
I’m going to make the safe assumption that you don’t have access to the equipment, and that’s perfectly fine. You don’t need it, but that also means your install is going to be significantly harder.
You’re going to go ahead and apply soapy water on the outside of the vehicle window, and overlay the window film so it covers the entire window. Give yourself an extra 2-3 inches of bleed on the edges just in case there’s a slight shift in your install, grab your knife and cut down the vinyl.
Spray the water on the film so it’s covered in a thin layer of soapy water, make sure it’s laying as flat as possible against the window, and trim alongside the left and bottom edges of the window. Then, shift your film over 1 inch or so towards the left edge and trim the longer side of the film to give yourself a nice bleed, but also a nice fit for the film.
Clean up any corners if you have to, but afterwards you’re going to heat the window film so it shrinks to the window size. You’re not installing it on the outside as much as it feels like it, you’re just warping it to the right shape and size as the window.
Now For The Window Film Install
Ready for the fun part?
You’re going to reclean the inside of the window, same process as before, but this time you’re going to spray an excess of soapy water around the edges to make your shifting of the vinyl easier.
Go back to the outside and peel off the top half of the window film, spray some soapy water, peal off the whole film, and run around to the opposite side of the car to line up the film. Both surfaces should be wet, which should make the film slide easily to wherever your placement should be. Squeegee out al the water once you’re happy with the placement, and once you’re happy with the install, you’re going to do the same with the bottom half.
Might seem simpler, but you’re going to have to tuck the bottom edge before squeegeeing down, otherwise if you roll your windows down in the future, it’ll peel off.
Smooth out the surface until there’s no wrinkles, and you’re good to go!
If you have any wrinkles, you’re going to have to pull back the window film, and redo it. If it comes out bad again, you’re going to have to recut a new piece.
We believe in you, and if you had a successful installation, congratulations! For those who are still frustrated on the installation, come through to Solar Solutions. We won’t tell anyone!


